Using GitHub via SSH

Table of Contents:
- Adding ssh keys to the ssh-agent
- How to list keys added to ssh-agent with ssh-add?
- Removing all the keys
- Adding a new SSH key to your GitHub account
- Cloning the repo
- Make sure repo uses the correct identity file
- Using the command line
- The process of debugging for problems
- Summing up
This text will explain connecting to GitHub using SSH protocol on Windows OS.
You can connect and authenticate to remote servers and services using the SSH protocol. With SSH keys, no username or password are needed.
There are always two SSH keys:
- private key and
- public key.
Before you even generate a new SSH keys, check to see if you have any existing SSH keys.
On Windows :
$ dir C:\Users\uname\.ssh
Mode                LastWriteTime         Length Name
----                -------------         ------ ----
-a----        12/3/2019  11:17 AM           3389 id_rsa
-a----        12/3/2019  11:17 AM            746 id_rsa.pub
-a----        12/5/2019   2:30 PM           1193 known_hosts
id_rsa and id_rsa.pub are typical names for the private and the public keys, although you can rename it to anything you like.
Similar on Linux and Mac from the terminal you can check if you have any keys with this one-liner:
$ ls -al ~/.ssh
If you already have keys (these ide_rsa files) add them to the agent: ssh-agent.
Adding ssh keys to the ssh-agent
The procedure on Windows:
Ensure first the ssh-agent is enabled. Check like this:
$ Get-Service ssh-agent
Output:
Status   Name               DisplayName
------   ----               ----------
Stopped  ssh-agent          OpenSSH Authentication Agent
If the agent is stopped you need to start it. You can start the ssh-agent service when you set service Startup type to: Manual.
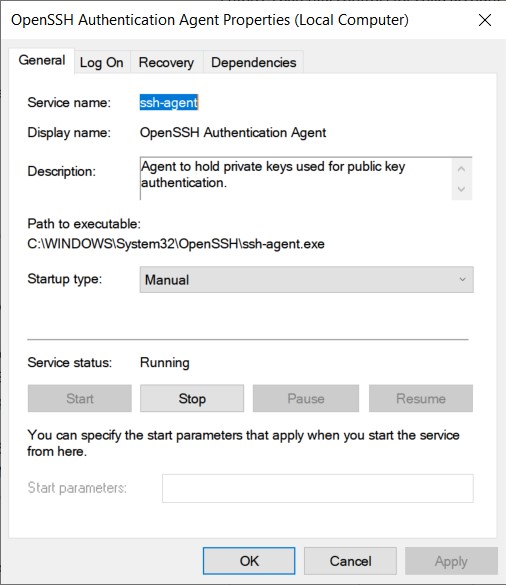
Alternatively you can do the same with the command line:
$ Get-Service -Name ssh-agent | Set-Service -StartupType Manual
You can start the service from the command line:
$ Start-Service ssh-agent
$ Get-Service ssh-agent
Output:
Status   Name               DisplayName
------   ----               -----------
Running  ssh-agent          OpenSSH Authentication Agent
Then
$ ssh-add C:\Users\uname\.ssh\id_rsa_intel
Identity added: C:\Users\dj\.ssh\id_rsa_intel
Note the uname represents the actual user name.
If you don’t have SSH keys, you can generate a new SSH key pair.
$ ssh-keygen -t rsa -b 4096 -C "[email protected]" -f folder
How to list keys added to ssh-agent with ssh-add?
Use the -l option to ssh-add to list them by fingerprint.
$ ssh-add -l
Removing all the keys
To remove all the keys use -D (uppercase D) option
$ ssh-add -D
This will remove each identity from the list.
Adding a new SSH key to your GitHub account
To configure your GitHub account to use your new (or existing) SSH keys, you’ll also need to add the public key to your GitHub account.
Go to the your GitHub account settings. You need to be logged in.
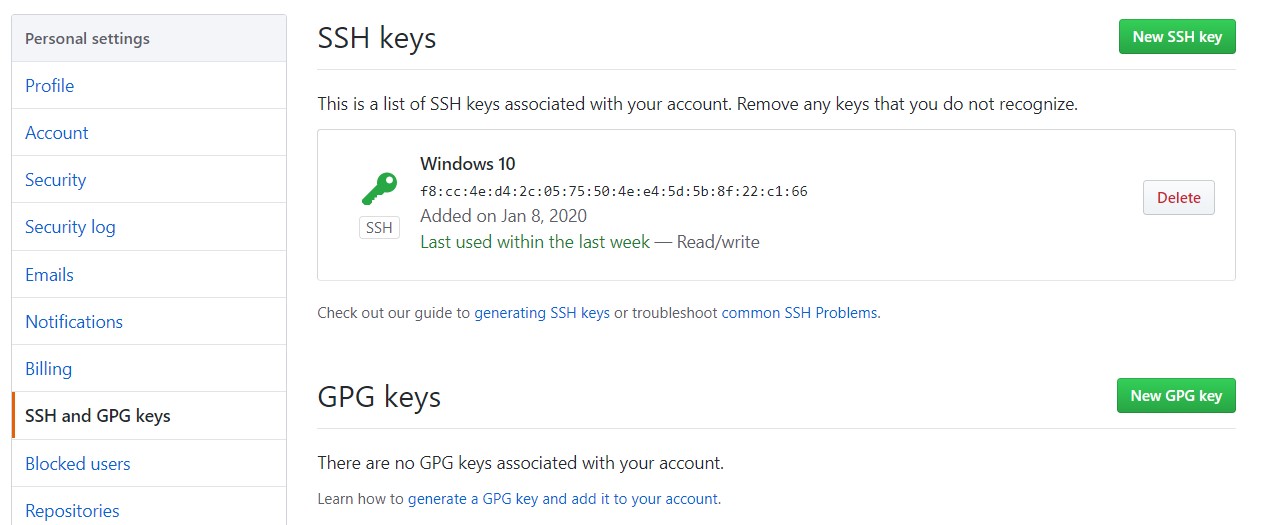
Click New SSH key button and add upload the key with the extension .pub (the public key).
Cloning the repo
From now on, you can open your terminal and clone GitHub repos in SSH style like this:
$ git clone [email protected]:uname/pname.github.io.git
where uname and pname are username and project name.
Make sure repo uses the correct identity file
If you will be using the identity file id_rsa just for the single project you can control your project config file to always include the corect file with this line
$ git config core.sshCommand "ssh -i ~/.ssh/id_rsa -F /dev/null"
This will update your git config file to something like this:
[core]
	repositoryformatversion = 0
	filemode = false
	bare = false
	logallrefupdates = true
	symlinks = false
	ignorecase = true
	sshCommand = ssh -i ~/.ssh/id_rsa -F /dev/null
[submodule]
	active = .
[remote "origin"]
	url = [email protected]:aaa/aaa.github.io.git
	fetch = +refs/heads/*:refs/remotes/origin/*
[branch "master"]
	remote = origin
	merge = refs/heads/master
[user]
	name = aaa
	email = [email protected]

[remote "upstream"]
	url = https://github.com/pages-themes/minimal.git
	fetch = +refs/heads/*:refs/remotes/upstream/*
This way you don’t need to alter per user config file ~\.ssh\config with the IdentityFile information. This would be the old school:
Host github.com
  IdentitiesOnly yes
  IdentityFile  ~\.ssh\id_rsa
Using the command line
You can explicitly set the user to push with:
git add .
git commit -m "Message"
git push [email protected]:username/project.git
The process of debugging for problems
It may be handy to use the verbose -v option to debug for the connection problems.
ssh -vT [email protected]
There is also the -vvvT switch for additional verbose details.
Summing up
You may know that the content of the ~/.ssh folder my not have identities at all. In your project /.git/config using the sshCommand line point to the identity file. Here is an example of the config file:
[core]
	repositoryformatversion = 0
	filemode = false
	bare = false
	logallrefupdates = true
	symlinks = false
	ignorecase = true
	sshCommand = ssh -i "C:/Users/dj/.ssh-swift/id_rsa" -F /dev/null
[remote "origin"]
	url = [email protected]:apple/swift.git
	fetch = +refs/heads/*:refs/remotes/origin/*
[branch "master"]
	remote = origin
	merge = refs/heads/master
In Windows the identity will usually by default be inside the ~/.ssh/ folder when you use the ssh-keygen.
There is the -f option where you can set the output folder for the ssh-keygen.
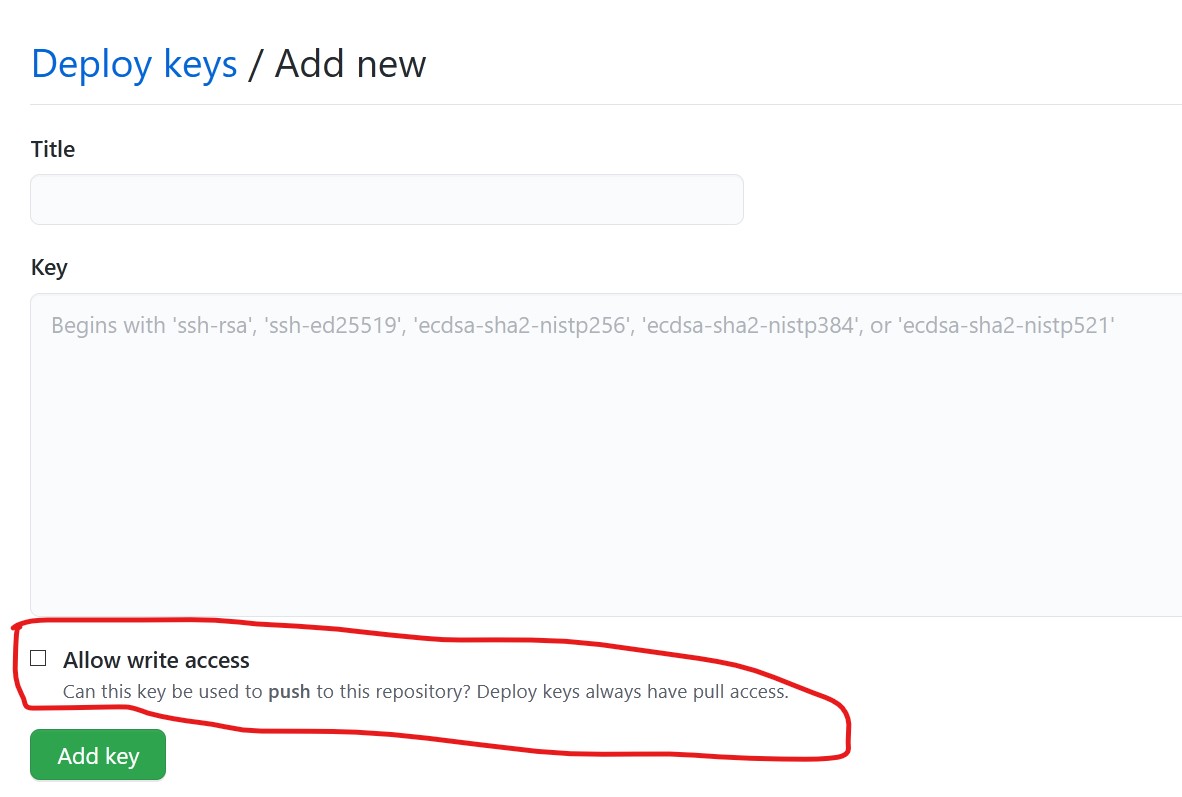
Lastly make sure your public key has been added to the GitHub with read/write access if you plan to use it for both read and write.
…
tags: ssh - windows & category: github