Python Project Isolation on Jupyter
Table of Contents:
- How to achieve project isolation
- Package Management in Pip
- Pip vs. Conda
- Creating a New Environment in Conda
- Conda Change the Python Version
- Use Conda Environment from Jupyter
A virtual environment creates a container with Python runtime (Python interpreter and Python libraries).
Virtual environments are isolated from default and other Python virtual environments.
How to achieve project isolation
Pip is Python package manager and allows specific Python package installation, update, removal or other details.
Virtualenv – virtual environment allows you to work in an isolated version of Python.
Each virtual environment has its own version of Python.
Python virtual environments are configured through a configuration file called the site-packages folder.
Conda is similar to virtualenv and it is not limited to Python only.
Anaconda is a distribution of the Python and R programming languages for scientific computing that uses conda.
Jupyter Notebook (acronym of three languages — Julia, Python and R) is an interactive web application from which you can run commands. The main achievement here would be to select a specific conda environment from where you will run Jupyter Notebook.
Although the task looks small it is very important from the Project isolation perspective.
Package Management in Pip
Use pip to install a package by name. pip looks for the package in PyPI to calculate dependencies, and installs them.
It is always a good idea to upgrade pip to the latest version.
pip install --upgrade pip
or even better
python -m pip install --upgrade pip
Check the version of the pip:
pip -V
Don’t run python pip directly. This will not work. pip is not a command line argument python understands.
pip works from python as a main module so use the -m switch. This would work:
python pip -m install numpy
instead of
python pip install numpy
but even better and more simpler would be:
pip install numpy
which assumes a -m switch.
Pip vs. Conda
The important difference between these two:
pip installs Python only packages while conda installs packages written in any language.
Another thing, conda can create isolated environments.
You should call:
conda info
to get the feedback on the conda environment that is running.
To list all the environments:
conda info --envs
Python environment is a directory that contains a copy of everything Python needs to run including:
- a copy of the python binary
- a copy of Python standard library
- a copy of the pip installer
- a copy of Python packages
Creating a New Environment in Conda
Let’s create a new Python environment “opencv” and let’s add the opencv-python package inside.
First if you open the anaconda command prompt you may find something like this:
(base) C:\Users\dj>
In here the “(base)” corresponds to the base environment which is by default. The “C:\Users\dj” is the current user folder.
Let’s create a new environment named opencv.
conda create --name opencv
This will output:
## Package Plan ##

  environment location: C:\Users\dj\anaconda3\envs\opencv


Proceed ([y]/n)? y

Preparing transaction: done
Verifying transaction: done
Executing transaction: done
#
# To activate this environment, use
#
#     $ conda activate opencv
#
# To deactivate an active environment, use
#
#     $ conda deactivate
From there you can just activate the environment with:
conda activate opencv

This will lead to the new prompt:
(opencv) C:\Users\dj>
To return to base:
conda deactivate
Conda Change the Python Version
It is possible to set Python version when creating the conda environment:
conda create --name opencv python=3.7
Once you create conda environment you can alter the version of Python:
conda install python=3.6
This will remove the old and set the new Python 3.6 version inside the environment.
Use Conda Environment from Jupyter
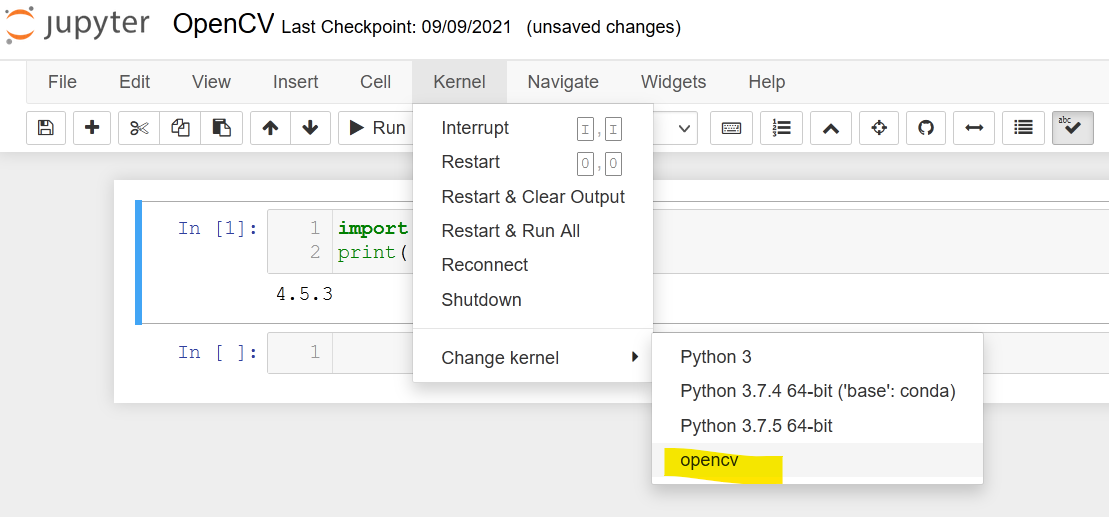
Let’s also make this Python environment visible from the Jupyter notebook so we can use it anytime.
There are a couple of steps to add a new Conda environment to your Jupyter notebook.
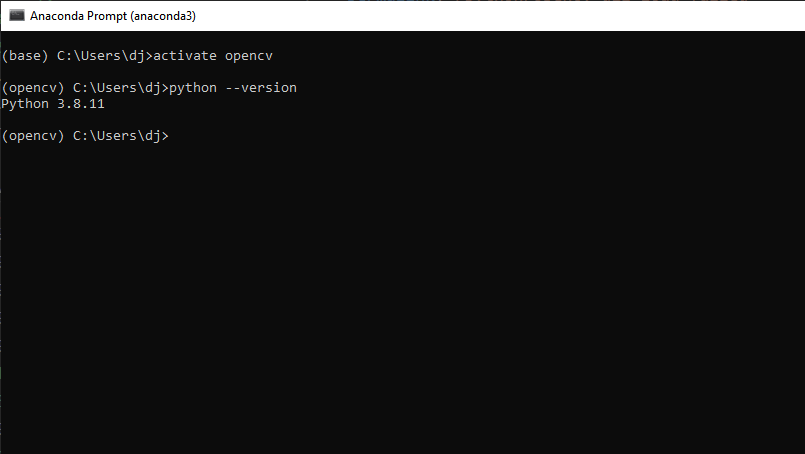
Step 1: Activate the Environment
First you activate opencv
(base) C:\Users\dj>activate opencv

(opencv) C:\Users\dj>
Step 2: Install ipkernel
For the environment to become a kernel install ipkernel:
(opencv) C:\Users\dj>conda install ipykernel
Step 3: Connect with Jupyter
Register the kernel spec with Jupyter:
(opencv) C:\Users\dj>ipython kernel install --user --name=opencv
Installed kernelspec opencv in C:\Users\dj\AppData\Roaming\jupyter\kernels\opencv
Step 4: Test

…
tags: kernel - jupyter & category: python
