Python PIL image library
Table of Contents:
What is PIL?
This is an old library from 1996.
Support for PIL (Python Imaging Library) got discontinued in 2011, but a project named pillow forked the original PIL project and added support for Python3.
Pillow is now a replacement for PIL.
Pillow supports a large number of image file formats including BMP, PNG, JPEG, and TIFF.
Pillow is frequently used for creating command-line applications that can be used to convert images in various formats.
PIL.Image.open
The next code shows how to open the image using PIL Image.open method:
%matplotlib inline
from PIL import Image
from matplotlib.pyplot import imshow
import torchvision.transforms as transforms

pil_img = Image.open(r"apple.jpg")
print(pil_img)

tensor = transforms.ToTensor()(pil_img).unsqueeze_(0)
print(tensor.shape)

pil_image = transforms.ToPILImage()(tensor.squeeze_(0))
print(pil_image.size)
pil_image_again = transforms.ToPILImage()(tensor).convert("RGB")
print(pil_image_again)
print(pil_image_again.size)
display(pil_image_again)
# pil_image_again.show() # not inline
# imshow(pil_img)
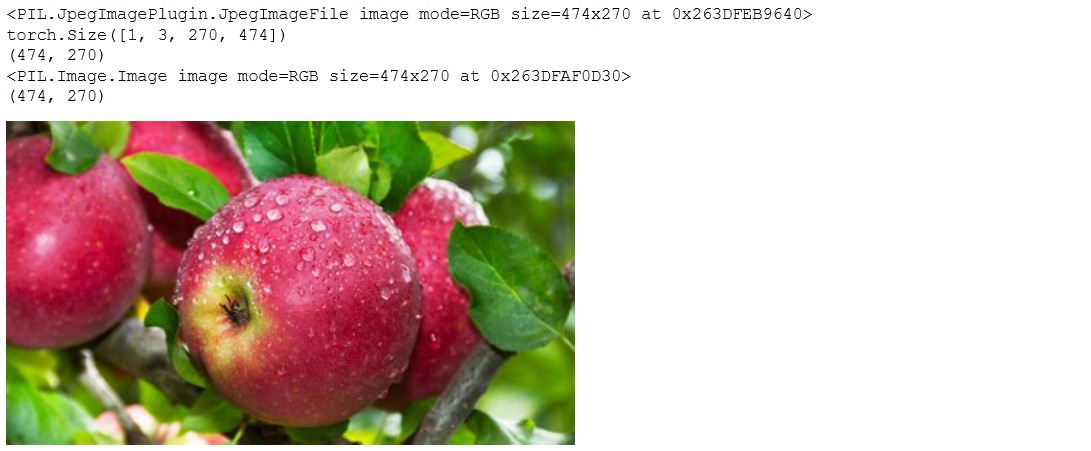
The example shows the usage of PIL.Image.open() to open a given image file.
PIL.Image.open()returns a 2D image.
You can use
torchvision.transformsto transform thePIL.Imageto tensor format.
PIL.Image.mode
RGB images mean they have 3 channels, one for red, one for green and one for blue.
RGBA means there is another alpha channel.
P mode image, that image colors are from the pallette.
A palette with up to 256 different colours is shorter instead of storing 3 bytes for R, G and B for each pixel. P mode image stores 1 byte which is the index into the palette.
The disadvantage of P image mode is that it can only represent 256 unique colours.
L mode image means it is a single channel image. L stands for luminance.
You can check the PIL.Image mode with mode method.
%matplotlib inline
from PIL import Image
from matplotlib.pyplot import imshow
import torchvision.transforms as transforms

pil_img = Image.open(r"apple.jpg")
print(pil_img.mode)
print(pil_img.convert("L").mode)
print(pil_img.convert("LA").mode)
print(pil_img.convert("P").mode)
print(pil_img.convert("PA").mode)
print(pil_img.convert("RGB").mode)
print(pil_img.convert("RGBA").mode)
Out:
RGB
L
LA
P
PA
RGB
RGBA
Showing the image
We can use pil_image_again.show() but it doesn’t work inline from some reason so knowing you will be working inside jupyter notebook as I am aware this method is not the best.
You can simply use the display() method that works inline.
Another alternative is to use the matplotlib.pyplot method imshow.
PIL functions
The PIL module provides a number of functions we will examine now.
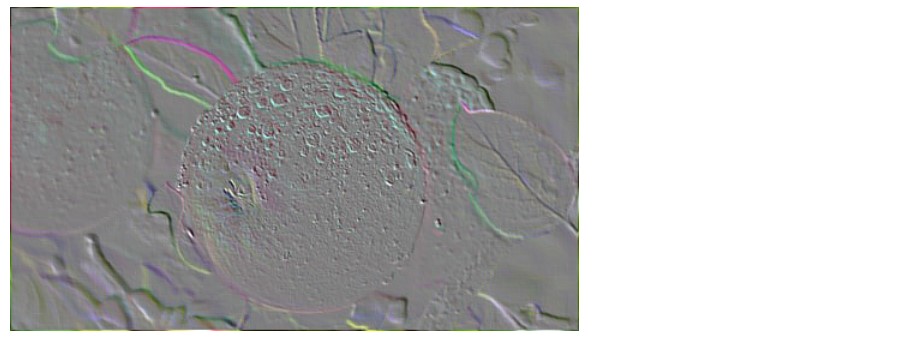
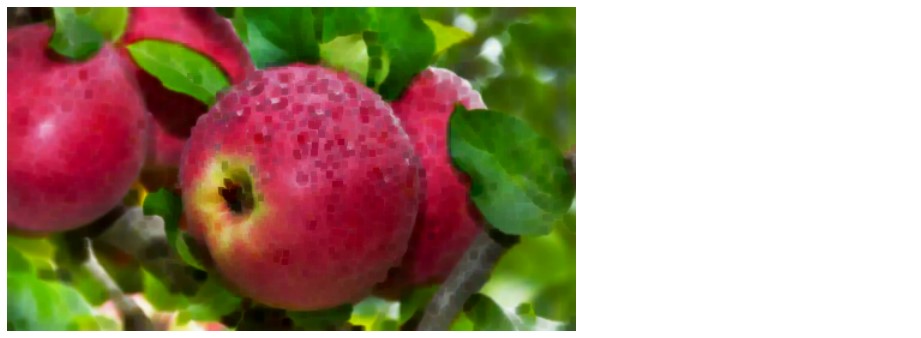
PIL.ImageFilter
With this we can achieve the EMBOSS effect.
from PIL import ImageFilter
img2 = pil_image_again.filter(ImageFilter.EMBOSS)
display(img2)
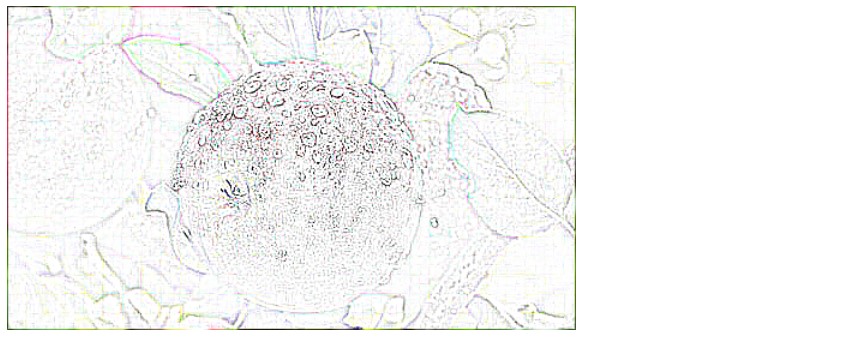
CONTOUR effect as well:
img2 = pil_image_again.filter(ImageFilter.CONTOUR)
display(img2)
MinFilter:
img2 = pil_image_again.filter(ImageFilter.MaxFilter(size=5))
display(img2)
MaxFilter:
img2 = pil_image_again.filter(ImageFilter.MinFilter(size=5))
display(img2)

If you check
help(ImageFilter)
you will find all the possible filters.
PIL.ImageEnhance
from PIL import ImageEnhance
effect = ImageEnhance.Brightness(pil_image_again)
display(effect.enhance(5))

Similar to Brightness you can do to Contrast, Sharpness and Color.
PIL.Image.ImageDraw
ImageDraw in PIL (pillow) works like this:
import PIL
from PIL import ImageDraw

area = ImageDraw.Draw(pil_image_again)
area.rectangle((0,0, 200, 150), outline="white", width=1)
display(pil_image_again)
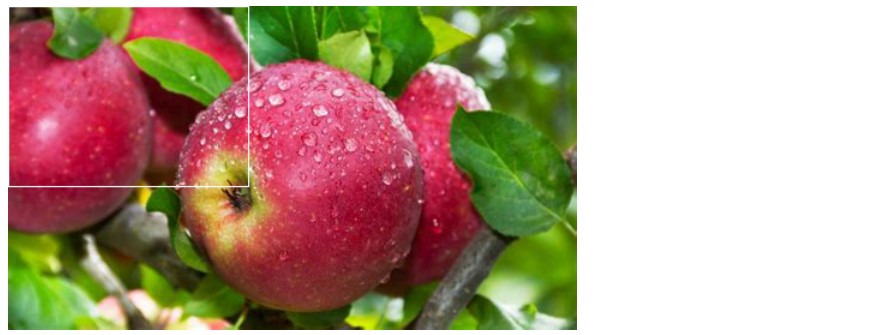
You can use ImageDraw to draw primitives such as line, point, text, ellipse, polygon, bitmaps, etc.
Comparison with OpenCV
OpenCV is written in C and C++ whereas PIL is written using Python and C. Because of that OpenCV seems faster.
…
tags: image & category: python