PyTorch | Data Augmentation
Table of Contents:
- Python libraries for data augmentation
- Reading images
- Images as Tensors
- Cropping images
- Affecting channels
- Merge
- Using
permute() - Saving images
- Image augmentation via
transforms - Resizing Images
- A folder of classes
- Load disk images
Python libraries for data augmentation
Data augmentation is a technique where you increase the number of data examples somehow. The additional data examples should ideally have the same or “close” data distribution as the initial data.
Imagine your initial data is 100 images. You can create 50 more images similar to these original 100 to augment.
With more data you have better chance to train your model better.
There are several Python image libraries we may use for image augmentation:
- CV2
- PIL
- matplotlib
- scikit-images
- pgmagic
- numpy
- SciPy
Reading images
Example: Reading the image using CV2 and displaying using matplotlib
%matplotlib inline
from matplotlib import pyplot as plt
import cv2
img=cv2.imread(r"C:\Users\dj\Desktop\img.jpg")
img=img[:,:,::-1]
_ = plt.imshow(img)
Example: Reading the image using Pillow and displaying using matplotlib
%matplotlib inline
from PIL import Image
from matplotlib import pyplot as plt
img = Image.open(r"C:\Users\dj\Desktop\img.jpg")
_ = plt.imshow(img)
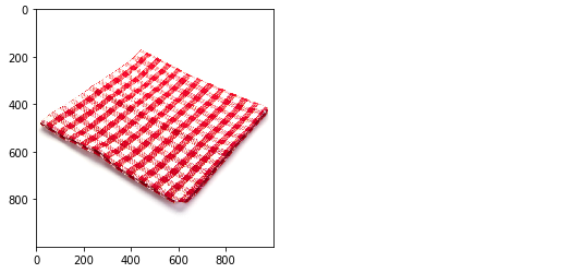
Example: Reading and displaying images using matplotlib
%matplotlib inline
import matplotlib.pyplot as plt
import matplotlib.image as mpimg
img = mpimg.imread(r"C:\Users\dj\Desktop\img.jpg")
_ = plt.imshow(img)
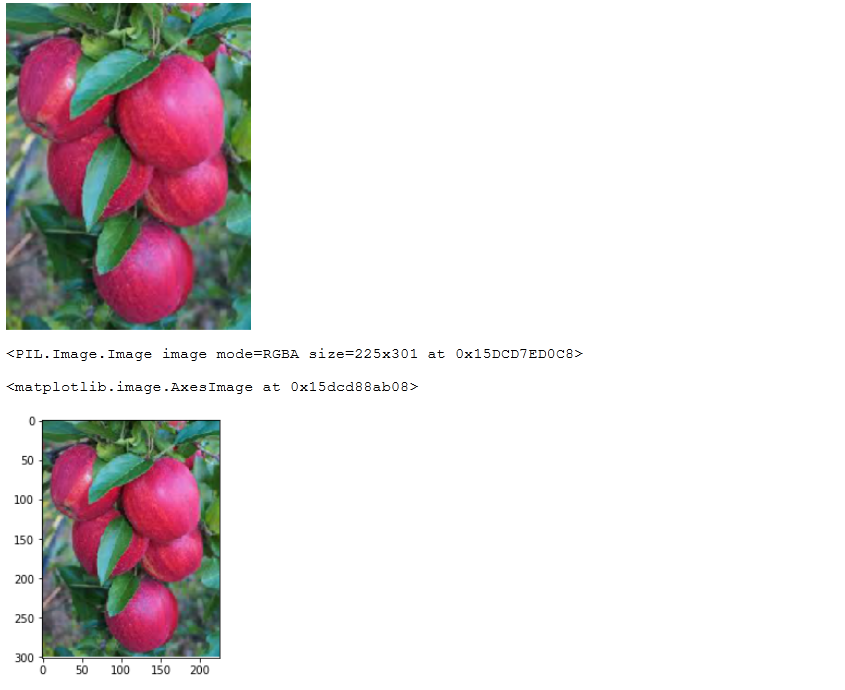
Images as Tensors
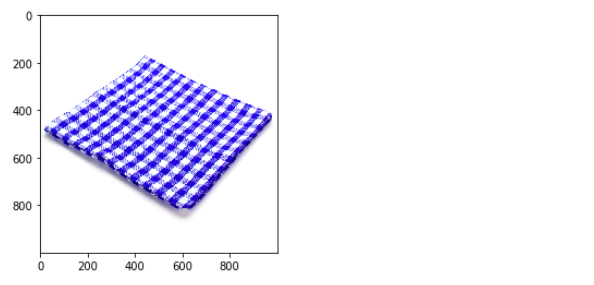
Example: To tensor from tensor
%matplotlib inline
import PIL
from PIL import Image
import matplotlib.pyplot as plt
import requests
from io import BytesIO

url = "https://dejanbatanjac.github.io/images/fromthinair1.PNG"

response = requests.get(url)
img = Image.open(BytesIO(response.content))
display(img) # Display a Python object in all frontends.

ToTensor = torchvision.transforms.ToTensor()
FromTensor = torchvision.transforms.ToPILImage()
t = FromTensor(ToTensor(img))
plt.imshow(t) # matplotlib show
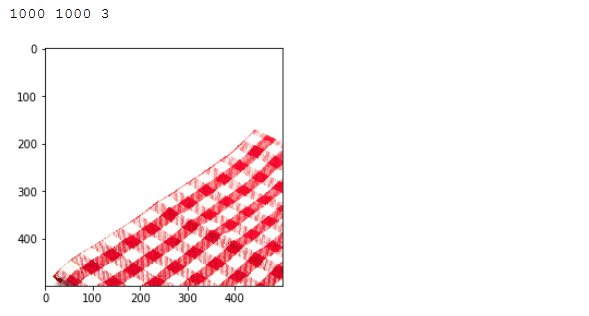
Cropping images
We were using in here just the regular numpy indexing. im=im[:,:,::-1] means invert the non-spatial dimension.
Example: Cropping the image using CV2
import cv2
from matplotlib import pyplot as plt

im = cv2.imread(r"C:\Users\dj\Desktop\img.jpg") # numpy.ndarray
im=im[:,:,::-1]
h,w, c = img.shape
print(h,w,c)
y=0
x=0
crop_im = im[y:y+h//2, x:x+w//2]
_ = plt.imshow(crop_im)
Affecting channels
Example: Split and merge image channels using CV2
%matplotlib inline
import cv2
from matplotlib import pyplot as plt

p = r"C:\Users\dj\Desktop\img.jpg"
img = cv2.imread(p)
img = img[:,:,::-1]
b,g,r = cv2.split(img)
img = cv2.merge((r,g,b)) # default is b,g,r
_ = plt.imshow(img)
Merge
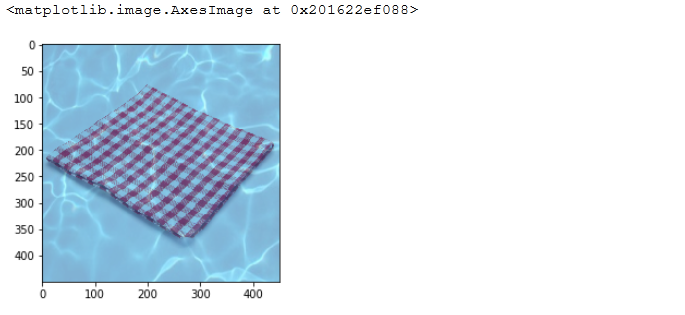
Example: Two images into one using CV2
%matplotlib inline
import cv2
from matplotlib import pyplot as plt

img1 = cv2.imread(r'C:\Users\dj\Desktop\img.jpg')
img1 = img1[:,:,::-1]

img2 = cv2.imread(r'C:\Users\dj\Desktop\img2.jpg')
img2 = img2[:,:,::-1]

cimg1 = cv2.resize(img1,(450,450))
cimg2 = cv2.resize(img2,(450,450))

dst = cv2.addWeighted(cimg1,0.5,cimg2,0.5,0)
plt.imshow(dst)
Using permute()
The notebook also shows the trick to print the image using permute method since matplotlib pyplot imshow method needs channel dimension at the very end.
print("img shape: ", imgs[0].shape)
img = imgs[0]
img = img.permute(1, 2, 0)
_ = plt.imshow(img)
Saving images
Example: Saving PIL image
The notebook also shows PIL imge save() method to save the image.
# create the imgs folder
Path('/content/imgs').mkdir(parents=True, exist_ok=True)

# create folders for 10 classes
for c in range(0,10):
    Path(f'/content/imgs/{c}').mkdir(parents=True, exist_ok=True)

# save all the images to specific folder
for idx, (img, cls) in enumerate(ds):
    img.save(f'/content/imgs/{cls}/{idx}.png')
Image augmentation via transforms
In PyTorch there is torchvision.transforms module. It can help transforming original image known as image augmentation.
You can achieve this when creating the Dataset with the transform parameter.
We already showcased this example:
import torch
from torch.utils.data import DataLoader, Dataset
import torchvision
from torchvision import transforms
import PIL.Image as Image

t = transforms.Compose([transforms.RandomHorizontalFlip(),
                       transforms.ToTensor(),
                       transforms.Normalize(mean=(0.5, 0.5, 0.5), std=(0.5, 0.5, 0.5))]
                       )
And then once you have the composed transformation t
ds = torchvision.datasets.CIFAR10('/data/cifar10', download=True, train=True, transform=t)
Here is the list of common transforms:
RandomCropRandomGrayscaleRandomHorizontalFlipRandomPerspectiveRandomRotationResizeScaleNormalizeToTensor
Resizing Images
Often, when you train image datasets images differ in size. For instance, in case of ImageNet dataset not all images are 224×224.
There are two options:
- Resize transform:
torchvision.transforms.Resize(size, interpolation=2)
Where size is a pair of integers (H, W). Unfortunately, this way aspect ratio is gone.
- Resize followed by CenterCrop
Resize takes the single integer (in case of ImageNet 224). The smaller from the two edges matches that size, aspect ratio is kept and the bugger edge is suppressed using CenterCrop.
The final output should be 224×224 in both cases.
torchvision.transforms.CenterCrop(size)
A folder of classes
Often for the classification problems there may be multiple folders, each for a single class of data. Let’s create one example by downloading the cifar-10 dataset from URL.
!wget https://pjreddie.com/media/files/cifar.tgz
!tar xzf cifar.tgz
%%time
import glob
f=glob.glob('/content/cifar/**/*.png')
print(len(f), f)
Or you may create the DatasetFolder based on different classes of images you have.
def pil_loader(path):
    with open(path, 'rb') as f:
        img = Image.open(f)
        return img.convert('RGB')


ds = torchvision.datasets.DatasetFolder('/content/classes',
                                        loader=pil_loader,
                                        extensions=('.png'),
                                        transform=t)
assuming you have different images inside your classes.
Load disk images
Next we will show how to create a dataset from the torchvision.datasets.DatasetFolder(). You may use DatasetFolder whenever you have multiple subdirectories each for a different class.
set_seed(13)

t = transforms.Compose(
    [transforms.RandomHorizontalFlip(),
    transforms.ToTensor() ])
#  transforms.Normalize( mean=(0.485, 0.456, 0.406), std=(0.229, 0.224, 0.225)) ])

# this function will be used to load images from disk
def pil_loader(path):
    with open(path, 'rb') as f:
        img = Image.open(f)
        return img.convert('RGB')

# with DatasetFolder we can set the extensions
ds = torchvision.datasets.DatasetFolder(
    r'/content/imgs',
    loader=pil_loader,
    extensions=('.png'),
    transform=t)

print(ds)
Output:
Dataset DatasetFolder
    Number of datapoints: 60000
    Root location: /content/imgs
    StandardTransform
Transform: Compose(
               RandomHorizontalFlip(p=0.5)
               ToTensor()
           )
…
tags: data augmentation - data augmentation in pytorch - data augmentation pytorch - pytorch data augmentation - visual machine learning - visual images - image examples - split and merge image - data distribution - torchvision - CV2 - PIL - matplotlib - scikit-images - pgmagic - numpy - SciPy & category: pytorch